The Twitter tile gives you a powerful way to display a twitter feed right in your SharePoint website. Great to keep up with the latest tweets under a certain hashtag or Twitter page.
Here is what you need to do to create one:
1# Create the Twitter widget
- Go to https://twitter.com/settings/widgets/new and sign in to your account;
-
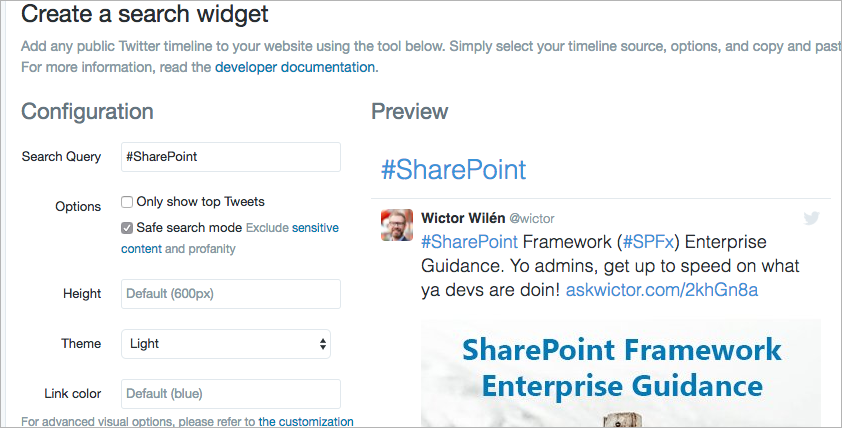
On the Search Query, type an hashtag or a Twitter handle;
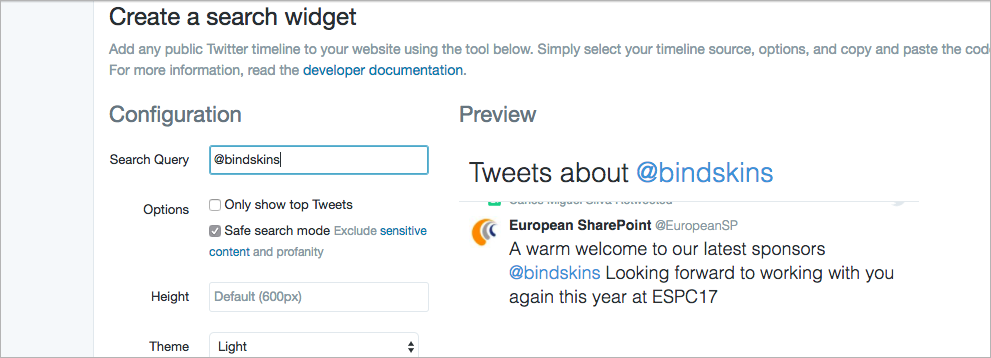
You can learn about creating Search queries on Twitter here: https://dev.twitter.com/rest/public/search.
-
You can also choose the height for the feed, the theme and the link color;
- When you’re done, click on Create Widget and let it refresh;
-
Leave the page open and copy the widget ID. You will find the ID on the URL, right after "https://twitter.com/settings/widgets/...".

2# Create the Twitter tile
The Twitter tile only has a front side tile, unlike the other tile types that have a front and back tile.
- Open the site where you have the Tiles installed;
- Click Edit to edit the page;
-
On the web part title bar, click on the ➕ icon to add a tile;
-
On the Tile Type, choose Twitter Feed;
-
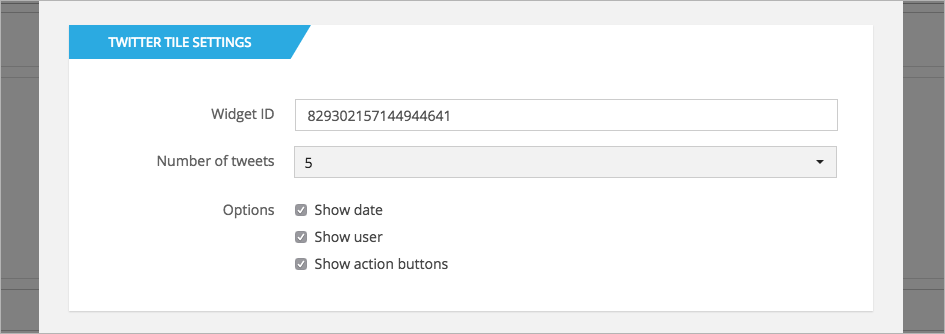
On the Twitter Tile Settings, paste the widget ID in the Widget ID box and choose the number of tweets that will appear on the tile;
-
On the Tiles Settings don't forget to pick a tile background and text color;
- The rest is up to you - fill out the remaining options as you want. You can check out what you need to do in each setting in the Tiles Settings Glossary section of this User Guide;
-
Click Save.
If you need to create another tile without closing the form, just click on "Save and create another".